Hello world!
Contents
This is a quick walkthrough to install your very first application on a microcontroller. It’s the only section that does not require any software experience :)
Arduino IDE
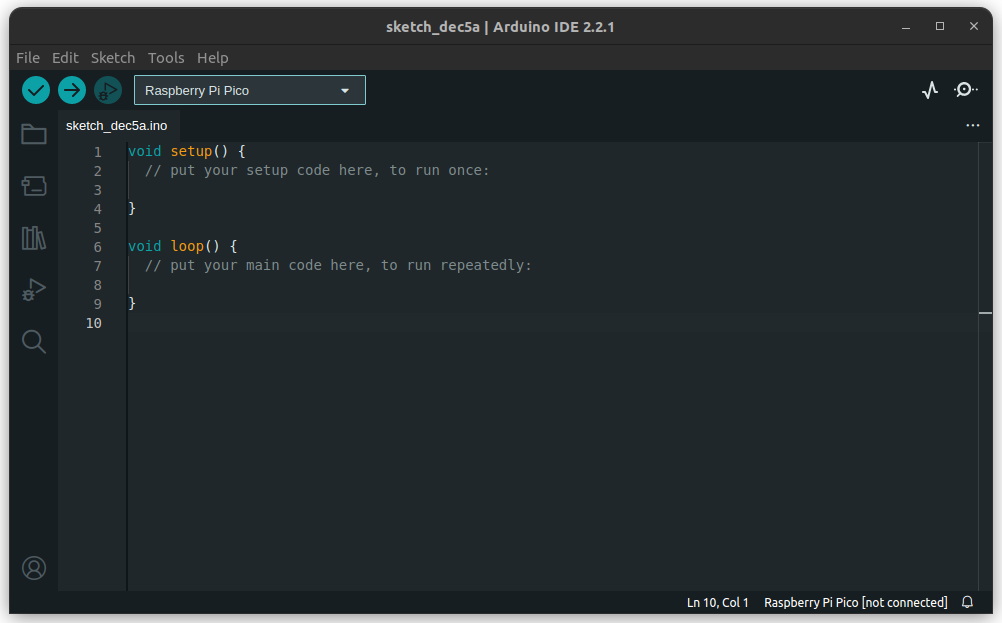
Launch your Arduino IDE, you should see something like this (AD2023):
Now click on the drop-down list and select ‘Select other board and port…’:
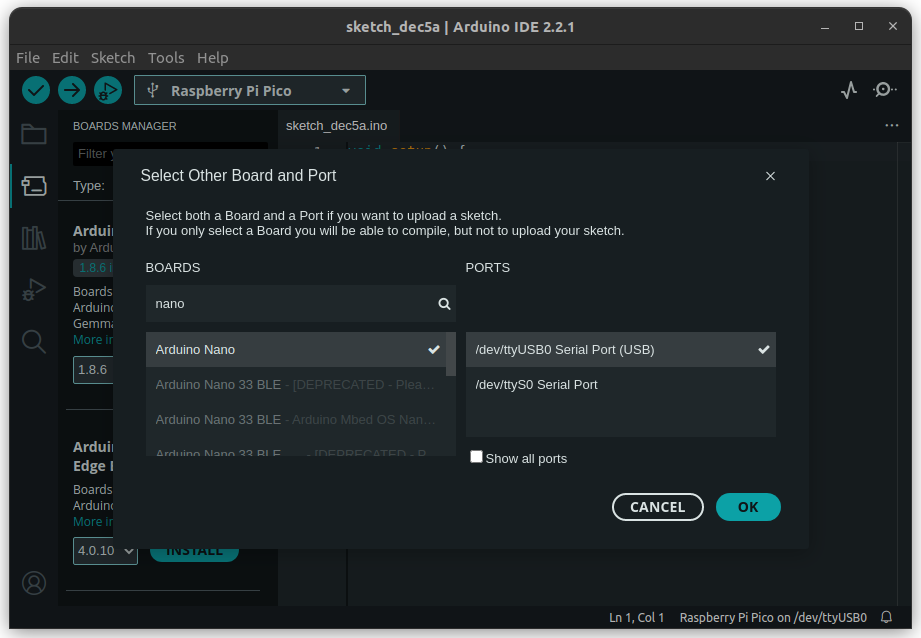
Type in “Nano” and select non-default port:
- Windows: COM7 and other
- Linux:
ttyUSB0,ttyACM0, anything other thanttyS0
You’re doing well! By now, your IDE should be prepared for action. Let’s compile an app. Go to
File -> Examples -> 01.Basics -> Blink
The IDE shall present you a few lines of code that periodically turn on and turn off an LED that
comes with your dev board. Note LED_BUILTIN constant, we’ll take about it later.
Now it’s time to compile it! There are three buttons in your toolbar (the area under File | Edit | Sketch | Tools | Help menu bar).
The tick button compiles your application. In other words, it translates the text you wrote (or in this case, the code you simply downloaded) into a binary file.
The right arrow button compiles and upload the application to the device you selected earlier on a given port.
Click the right arrow button. As a result, you should see a window like this:
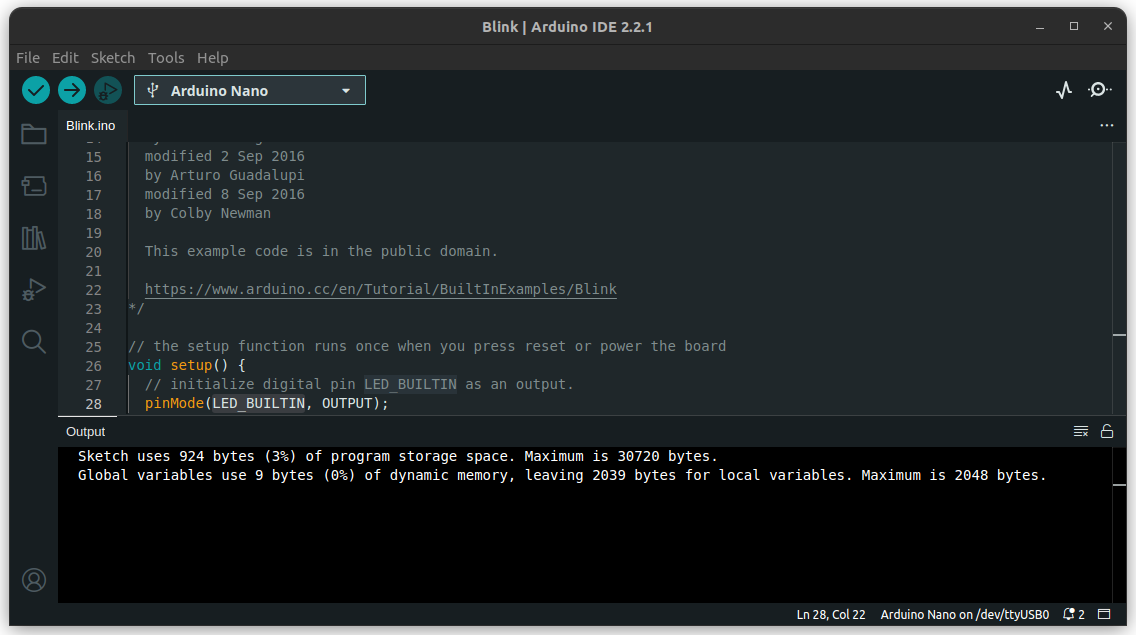
Take a look at your board! Do you see it?! It’s blinking! Good job, you’ve just become an embedded developer :)
More on Blink example can be found on Arduino website 1.
VSCode + PlatformIO project
Install the IDE as shown here:
- VSCode/VSCodium + PlatformIO plugin. This is how you can do it: Installation tutorial
More on Blink example can be found on Arduino website 1.